
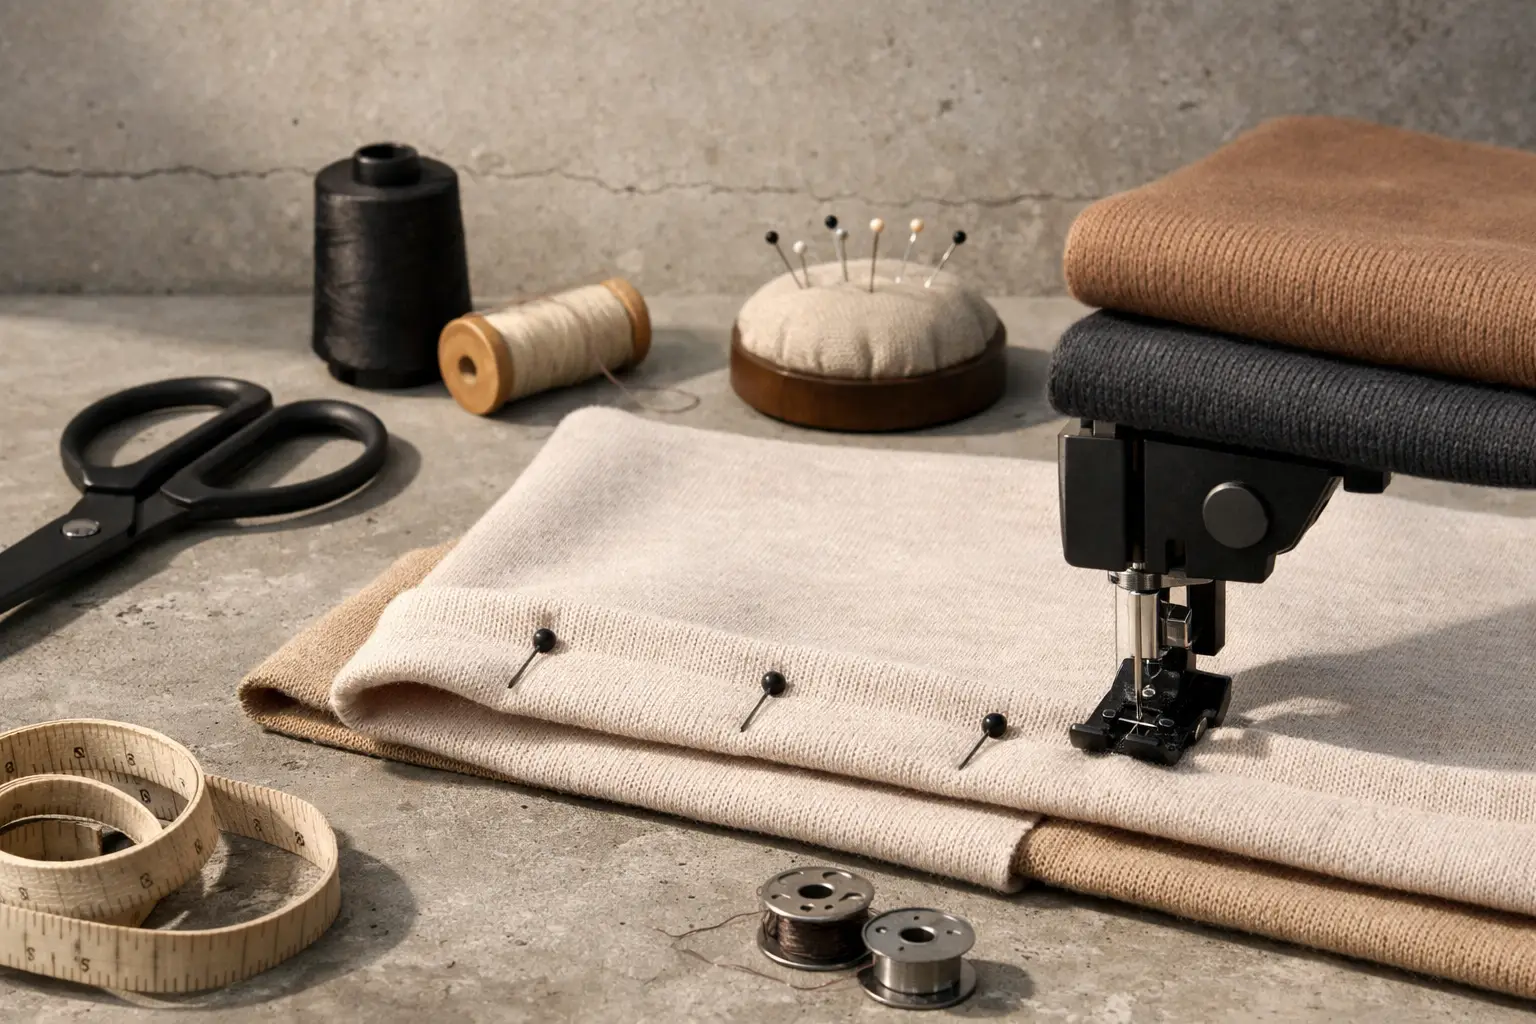
Fabric puckering is one of the most frustrating problems in sewing. You finish a seam expecting a clean, professional result, only to find small waves, wrinkles, or gathered-looking fabric along the stitching line.
The good news is that fabric puckering is usually preventable. In most cases, the problem comes from a combination of thread tension, stitch length, needle choice, fabric handling, presser-foot pressure, or sewing technique.
Whether you are making a simple garment, an oversized top, a skirt, a bag, or a more structured project, understanding why fabric puckers will help you achieve smoother, more professional seams.
In this guide, you will learn how to prevent fabric puckering, how to identify the cause, and what to change when puckering has already appeared.
What Is Fabric Puckering?
Fabric puckering happens when the fabric becomes distorted along or next to a line of stitching.
Instead of lying flat, the fabric may:
- wrinkle along the seam
- form small waves
- appear slightly gathered
- pull toward the stitching line
- create uneven tension between fabric layers
- develop permanent-looking ripples after pressing
Puckering can be subtle or very obvious. It is especially noticeable on lightweight fabrics, smooth fabrics, tightly woven materials, and garments where long straight seams are visible.
Importantly, puckering is not always caused by the sewing machine itself. The fabric, thread, needle, stitch settings, and sewing technique all interact.
Why Does Fabric Pucker When Sewing?
Before trying to fix puckering, it helps to understand what causes it.
The most common causes are:
- Incorrect thread tension
- Stitch length that is too short
- The wrong needle for the fabric
- Dull or damaged needles
- Pulling or stretching the fabric while sewing
- Uneven feeding of the fabric layers
- Excessive presser-foot pressure
- Poor-quality or unsuitable thread
- Fabric that has not been stabilized
- Sewing directly over pins or bulky areas
- Differential stretch between fabric layers
- Incorrect sewing-machine settings
The important point is that there is rarely one universal setting that works for every fabric.
A lightweight cotton, denim, jersey, canvas, and slippery fabric can require very different approaches.
1. Check Your Thread Tension
One of the first things to check when fabric starts puckering is your machine’s thread tension.
If the upper thread is pulling too tightly, it can draw the fabric together as the stitch forms. The result can be a seam that looks slightly gathered or wrinkled.
What to do
Start with your machine’s normal tension setting and sew a test seam on a scrap of the actual fabric.
Then examine both sides of the fabric.
If the seam is visibly pulling the fabric together, gradually adjust the tension and test again.
Do not change several settings at once. Make one adjustment, sew another test, and compare the results.
This makes troubleshooting much easier.
2. Choose the Correct Stitch Length
A stitch that is too short can contribute to puckering because more stitches are placed into a relatively small section of fabric.
For many woven garment fabrics, a moderate stitch length is a good starting point.
However, the ideal setting depends on:
- fabric weight
- fabric construction
- seam type
- thread weight
- sewing machine
- whether the fabric stretches
For delicate or lightweight fabrics, test different stitch lengths on scraps before sewing the actual garment.
If you are still learning how sewing patterns work, it can also help to review [How to Read Sewing Patterns: A Complete Beginner’s Guide] before starting a new project. Understanding seam allowances, construction markings, and pattern instructions makes it easier to distinguish a sewing-machine problem from a pattern-construction issue.
3. Use the Right Needle
A needle that is too large, too small, dull, or unsuitable for the fabric can contribute to poor stitching and fabric distortion.
For example, the needle requirements for a stable woven fabric are different from those for a stretchy knit.
Always consider:
- fabric weight
- woven vs. knit construction
- fabric density
- thread weight
- needle condition
A fresh, appropriate needle is one of the simplest things you can change when troubleshooting.
Replace the needle regularly
Even if a needle does not look damaged, it can become dull through use.
If you suddenly start experiencing:
- skipped stitches
- uneven stitches
- fabric damage
- unusual noise
- puckering
replace the needle and test again.
4. Don’t Pull the Fabric While Sewing
One of the most common beginner mistakes is trying to help the sewing machine move the fabric by pulling it from behind or pushing it from the front.
This can stretch or distort the fabric while the machine is stitching.
When the fabric returns to its original shape, the seam can appear puckered.
Instead:
Allow the feed dogs to move the fabric naturally.
Your hands should primarily guide the fabric rather than force it through the machine.
This is particularly important when sewing lightweight materials or garments with long seams.
If you are new to sewing, you may also find [How to Sew for Beginners Without Stress] useful before tackling more complicated projects.
5. Avoid Stretching Lightweight Fabrics
Lightweight fabrics can be especially sensitive to sewing-machine pressure.
If you stretch the fabric as you sew, the machine stitches may effectively become shorter relative to the fabric once it relaxes.
This can produce a wavy seam.
Try to keep the fabric relaxed and supported on the sewing table.
For larger projects, make sure the fabric is not hanging heavily off the edge of the table. Its own weight can pull against the needle and distort the seam.
6. Check Your Presser-Foot Pressure
Some sewing machines allow you to adjust presser-foot pressure.
If the pressure is too high for a particular fabric, the fabric can be compressed while sewing. This can contribute to distortion or puckering.
This is particularly relevant when working with:
- lightweight fabrics
- delicate fabrics
- multiple layers
- fabrics with stretch
If your machine has adjustable presser-foot pressure, consult its manual and test a lower setting on scrap fabric when appropriate.
7. Let the Sewing Machine Feed the Fabric
A smooth seam depends on consistent movement through the machine.
Avoid:
- pulling the fabric backward
- pushing it forward
- lifting the presser foot unnecessarily
- forcing several layers through the machine
- sewing too quickly when the fabric is difficult to control
Instead, maintain a consistent sewing speed and gently guide the fabric.
This is particularly important when sewing curved seams, long seams, and lightweight materials.
8. Use Good-Quality Thread
Thread quality can have a surprisingly large effect on the finished seam.
Old, brittle, poor-quality, or unsuitable thread can create inconsistent tension and stitching.
For general garment sewing, use a good-quality all-purpose sewing thread appropriate for your fabric.
The thread should also be compatible with your needle size.
If you are sewing a lightweight fabric with very heavy thread, for example, the thread itself can contribute to unnecessary bulk and tension.
9. Stabilize Problem Areas
Some areas of a garment naturally need additional stabilization.
Examples include:
- necklines
- shoulder seams
- waistbands
- pockets
- zipper areas
- button plackets
- areas cut on the bias
Depending on the project, lightweight interfacing, stay tape, or another suitable stabilizer can help prevent distortion.
This is particularly useful when a seam needs to maintain its shape rather than stretch during construction.
10. Always Test on a Scrap of the Actual Fabric
This is one of the most useful habits you can develop as a sewist.
Don’t assume that a machine setting that worked perfectly for one fabric will work for another.
Before sewing your garment:
- Cut a piece of the actual fabric.
- Thread the machine with the thread you intend to use.
- Insert the appropriate needle.
- Select your initial stitch length.
- Sew a test seam.
- Examine both sides.
- Adjust one setting at a time.
This takes only a few minutes and can prevent hours of frustration later.
How to Prevent Puckering on Different Fabrics
Different fabrics react differently to stitching.
Lightweight woven fabrics
Fine cottons, lightweight linen, rayon, and similar fabrics can be more susceptible to puckering.
Try:
- an appropriate fine needle
- moderate stitch length
- good-quality fine thread
- reduced presser-foot pressure if appropriate
- supporting the fabric properly
- avoiding stretching while sewing
Medium-weight cotton
Cotton is generally one of the more forgiving fabrics for beginners.
Stable cotton fabrics are particularly useful when learning because they tend to remain relatively predictable under the sewing machine.
If you are choosing fabric for your first garments, our guide [Best Fabric for Beginner Garments: A Complete Guide] can help you choose fabrics that are easier to handle.
Denim and heavier fabrics
Heavy fabrics create different challenges.
Puckering can occur when:
- the needle is inappropriate
- the thread is too heavy or too light
- several layers are compressed
- the machine struggles to feed the fabric evenly
Use an appropriate heavy-fabric needle and test the machine over multiple layers before sewing the final garment.
Stretch fabrics
Stretch fabrics require particular care because they can stretch while being sewn and then recover afterward.
That can create a wavy seam that initially appears flat while sewing.
Depending on the fabric and machine, you may need:
- a stretch or ballpoint needle
- an appropriate stretch stitch
- reduced presser-foot pressure
- a walking foot or suitable attachment
- stabilization where appropriate
Never assume that a regular straight stitch is the best choice for every stretch fabric.
How to Prevent Puckering When Sewing Seams
For a clean garment seam, use this simple sequence:
Step 1: Prepare the fabric
Make sure the fabric has been properly prewashed or prepared according to the pattern and fabric requirements.
Cut accurately.
Step 2: Check the grain
An incorrectly positioned or distorted grainline can affect how fabric behaves during construction.
For more information about working with PDF sewing patterns and their markings, see [How to Read Sewing Patterns: A Complete Beginner’s Guide].
Step 3: Test your machine
Use a scrap of the same fabric.
Step 4: Sew without stretching
Let the feed dogs do the work.
Step 5: Press the seam
Pressing is part of sewing—not just the final finishing step.
Press the seam according to the fabric and construction requirements.
Good pressing can dramatically improve the appearance of a finished garment.
Pressing vs. Ironing: Why It Matters
There is an important difference between simply moving an iron back and forth and properly pressing a seam.
When pressing, you place the iron onto the fabric, apply the appropriate pressure and heat, and lift it again rather than aggressively dragging the iron across the seam.
Dragging can distort certain fabrics.
For many garment seams, a good sequence is:
sew → press → continue construction
rather than waiting until the entire garment is finished.
How to Fix Fabric Puckering After Sewing
If you’ve already sewn the seam and discovered puckering, don’t panic.
First, determine whether the puckering is caused by:
- tension
- incorrect stitch length
- stretched fabric
- incorrect needle
- uneven feeding
- construction problems
If the seam can safely be unpicked, remove the problematic stitching carefully and test a new setting on scrap fabric.
Do not immediately sew over the existing stitches repeatedly. This can create unnecessary holes and weaken the fabric.
For delicate fabrics, take extra care when removing stitches.
Common Sewing Mistakes That Cause Puckering
Pulling the fabric
The machine should feed the fabric. Your hands should guide it.
Using the wrong needle
A needle that doesn’t suit the fabric can cause multiple problems.
Sewing too quickly
Speed can make it harder to maintain even fabric feeding.
Skipping the test seam
A five-minute test can save an entire garment.
Ignoring fabric grain
Fabric that has been distorted during cutting can behave unpredictably during sewing.
Using excessive tension
If the thread is pulling the fabric together, investigate your tension settings.
Forgetting to press
A seam that looks poor immediately after sewing can sometimes improve dramatically with correct pressing.
How Fabric Choice Can Affect Puckering
Fabric selection is one of the most overlooked factors.
A beginner may choose a pattern that looks simple but pair it with a fabric that is difficult to control.
For example, a very slippery or delicate fabric can make a straightforward pattern significantly more challenging than the same pattern made in a stable woven fabric.
This is why choosing appropriate fabric is particularly important when sewing beginner garments.
For oversized clothing, you can also read [What Fabric Suits Oversized Garments Best?] to understand how fabric weight, drape, and structure influence the final silhouette.
Choosing Beginner-Friendly Sewing Projects
Your first project can also influence how much you struggle with puckering.
Stable fabrics and relatively straightforward construction are generally easier starting points than extremely delicate or slippery materials.
For inspiration, explore:
- [10 Best Beginner Clothing Patterns to Sew]
- [Best Beginner Sewing Patterns Clothes]
- [12 Best Beginner Sewing Patterns to Try]
- [9 Beginner Sewing Projects Clothes You’ll Wear]
- [How to Choose a Beginner Sewing Patterns PDF]
If you prefer modern, relaxed silhouettes, [How to Sew Oversized Tops: A Complete Beginner-Friendly Guide] is another useful resource.
Sewing Projects Where Good Fabric Handling Matters
The same principles apply beyond clothing.
Bags and accessories
Structured projects such as:
- [Messenger Bag Sewing Pattern PDF | Tie Strap Crossbody Bag]
- [Origami Slim Backpack PDF Sewing Pattern (Fits 15” Laptop)]
- [Oversized Parachute Pants PDF Sewing Pattern]
require consistent fabric feeding and accurate seam construction.
For a simpler accessory project, see [How to Sew a Simple Crossbody Bag] or [How to Make a Boxed Pouch That Looks Neat].
Skirts
When sewing skirts, puckering can be especially visible around waist seams and other horizontal construction lines.
You can explore:
If you’re working with different body measurements between pattern sizes, [How to Grade Between Sizes: A Complete Guide to Blending Sewing Pattern Sizes] can also help you understand how to create a smoother fit without distorting the pattern.
Tops and jackets
Puckering can become particularly noticeable along shoulder seams, sleeves, necklines, hems, and curved construction lines.
Relevant projects include:
- [Raglan Shirt PDF Sewing Pattern]
- [Drawstring Ruched Back Top PDF Sewing Pattern]
- [Hooded Kimono Top Sewing Pattern PDF | Slouchy Cropped Hoodie]
- [Minimalist Bomber Jacket Sewing Pattern PDF]
For boxy and relaxed silhouettes, see [Best Sewing Patterns for Boxy Tops].
Working With PDF Sewing Patterns Without Fabric Problems
PDF sewing patterns themselves don’t cause puckering, but the way you prepare and cut the pattern can affect your sewing results.
If you’re using printed PDF patterns, make sure the pattern has been printed at the correct scale.
For example, [A4 vs A0 Sewing Patterns: Which PDF Format Should You Choose?] explains the differences between common PDF formats.
You can also learn more about the difference between physical and digital patterns in [Paper Sewing Patterns vs PDF: Which Sewing Pattern Is Better?].
If you prefer not to print your pattern at all, [Projector Sewing Patterns for Beginners: The Complete Guide to Sewing Without Printing] explains how projector sewing files work.
For practical projector setup, see [How to Use Projector Sewing Files: A Complete Beginner’s Guide].
Why Modern PDF Patterns Can Make Sewing Easier
A well-organized digital pattern can make the preparation stage much simpler.
Depending on the pattern, you may have access to different formats, size layers, and detailed instructions.
You can learn more about this approach in [Why Modern PDF Sewing Patterns Work].
A Simple Anti-Puckering Checklist
Before sewing your final garment, run through this checklist:
Fabric
- Is the fabric suitable for the project?
- Has it been prepared correctly?
- Is it cut accurately?
- Is the grainline correct?
Machine
- Is the needle appropriate?
- Is the needle fresh?
- Is the thread suitable?
- Is the tension reasonable?
- Is the stitch length appropriate?
Sewing
- Are you allowing the machine to feed the fabric?
- Are you avoiding unnecessary stretching?
- Are both layers feeding evenly?
- Are you sewing at a controlled speed?
Finishing
- Are you pressing seams as you construct the garment?
- Are you checking the seam before continuing?
- Did you test the settings on scrap fabric first?
FAQ: How to Prevent Fabric Puckering
Why does my fabric pucker when I sew?
The most common causes are incorrect thread tension, unsuitable needle choice, stitch length, fabric stretching, uneven feeding, or excessive presser-foot pressure.
Does higher thread tension cause puckering?
It can. Excessive tension can pull the fabric together around the stitches. Test your machine settings on a scrap of the actual fabric before changing the final garment.
Should I change my needle when fabric puckers?
Yes, especially if the needle is old, damaged, or inappropriate for the fabric. A fresh, correctly sized needle is one of the easiest troubleshooting steps.
Why does my fabric become wavy when I sew?
The fabric may be stretching during sewing and then recovering afterward. This is particularly common with knit and other stretchy fabrics. Machine feeding, presser-foot pressure, needle choice, and stitch type can all contribute.
Can pressing remove fabric puckering?
Sometimes. If the distortion is minor, careful pressing may improve the appearance considerably. However, pressing cannot fully correct a seam that was stitched under excessive tension or with severely stretched fabric.
How can beginners avoid fabric puckering?
The simplest approach is to choose a stable, beginner-friendly fabric, use the correct needle and thread, test your machine settings, avoid pulling the fabric, and press seams as you sew.
Final Thoughts
Learning how to prevent fabric puckering is less about finding one perfect sewing-machine setting and more about understanding the relationship between your fabric, needle, thread, machine, and technique.
When a seam puckers, troubleshoot systematically:
check the needle → check the thread → check the tension → check the stitch length → check fabric feeding → test again.
Most importantly, always test on a scrap of the actual fabric before committing to the garment.
Once you develop this habit, puckering becomes much less mysterious—and your seams will look cleaner, flatter, and considerably more professional.
Explore more beginner sewing resources
- [Best Fabric for Beginner Garments: A Complete Guide]
- [How to Sew for Beginners Without Stress]
- [10 Best Beginner Clothing Patterns to Sew]
- [12 Best Beginner Sewing Patterns to Try]
- [How to Read Sewing Patterns: A Complete Beginner’s Guide]
- [How to Sew Oversized Tops: A Complete Beginner-Friendly Guide]
- [How to Grade Between Sizes: A Complete Guide to Blending Sewing Pattern Sizes]
Leave a Reply
You must be logged in to post a comment.