
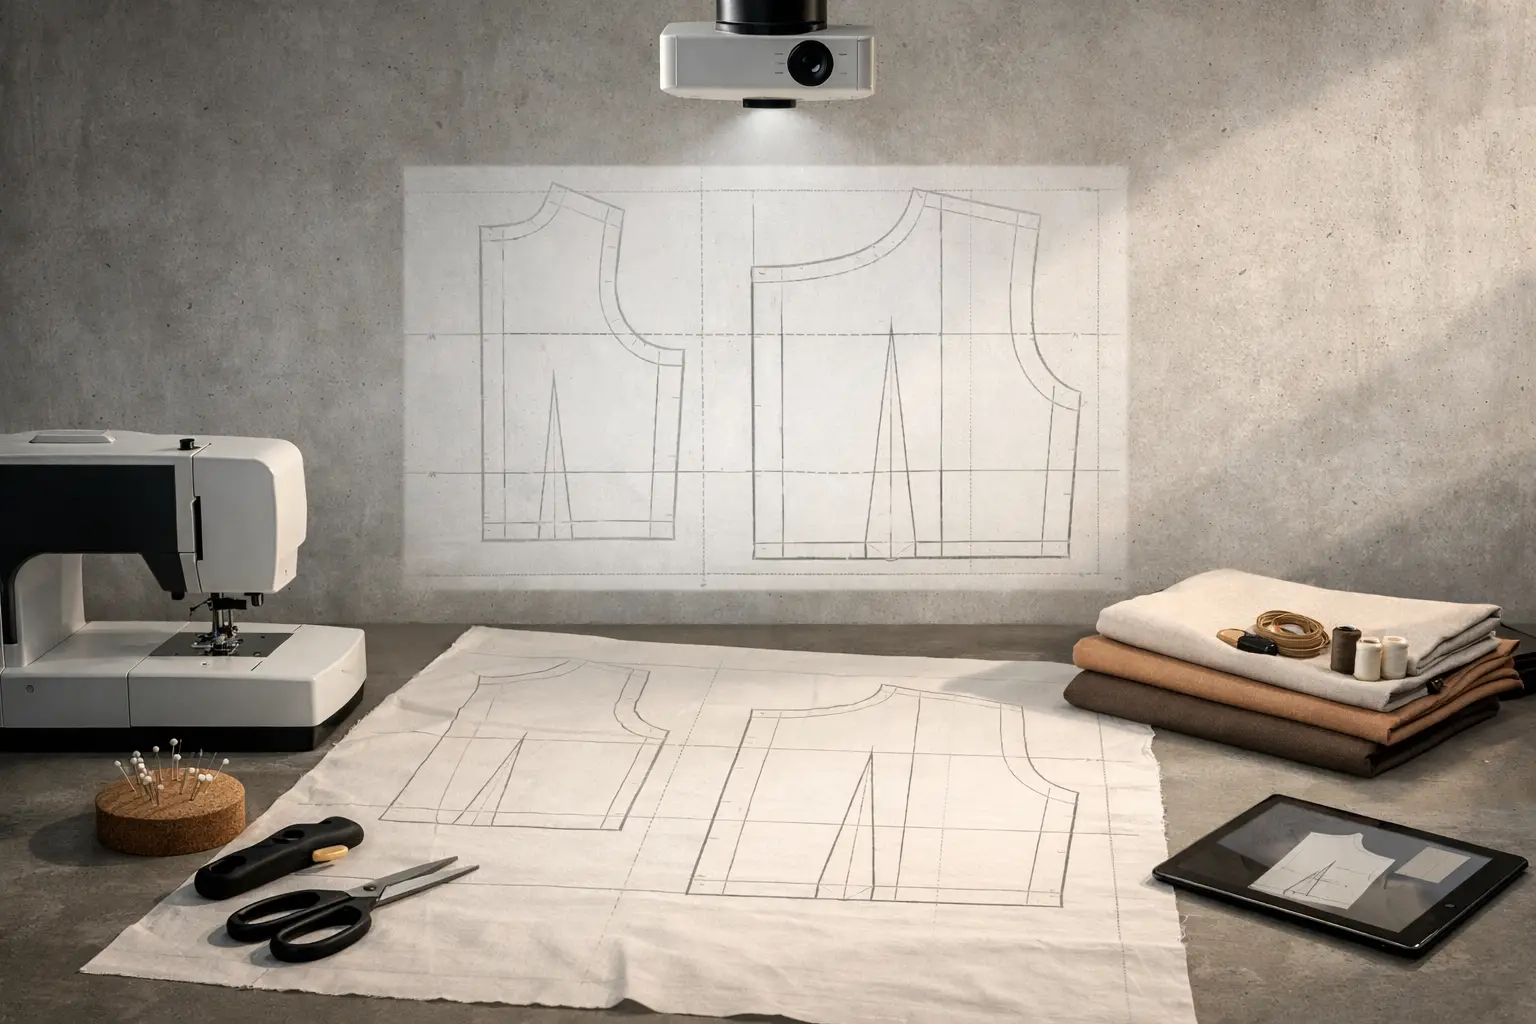
If you’ve recently downloaded your first projector sewing pattern, you might be wondering where to start. Projector sewing is becoming increasingly popular because it eliminates one of the least enjoyable parts of sewing with PDF patterns: printing, trimming, taping, and storing paper.
Learning how to use projector sewing files may seem technical at first, but the process is surprisingly simple once you understand the basics. In fact, many sewists who switch to projector sewing never go back to paper patterns.
Whether you’re making your first oversized top, a backpack, or a skirt, this guide will walk you through every step—from opening your projector file to cutting fabric with confidence.
What Are Projector Sewing Files?
Projector sewing files are specially designed PDF pattern files that are projected directly onto fabric at full size. Instead of assembling dozens of printed pages, you simply display the pattern on your cutting table using a projector.
Most modern projector files include:
- Layered sizes
- High-contrast cutting lines
- Calibration grid or test square
- Fold lines
- Grainlines
- Notches
- Labels that remain readable while projected
Unlike standard printable PDFs, projector files are optimized specifically for projection and viewing from above.
If you’re still deciding which PDF format is right for you, read A4 vs A0 Sewing Patterns: Which PDF Format Should You Choose?
Why More Sewists Are Switching to Projector Sewing
The biggest advantage is simple:
You spend your time sewing instead of preparing patterns.
Traditional PDF patterns often require:
- printing 20–80 pages
- trimming margins
- taping pages together
- cutting paper
- storing bulky patterns
With projector sewing, all of that disappears.
You simply:
- Open the file.
- Project it.
- Cut your fabric.
If you already enjoy digital patterns, you’ll probably also enjoy reading Paper Sewing Patterns vs PDF: Which Sewing Pattern Is Better?
What You’ll Need Before You Begin
The good news is that projector sewing doesn’t require an expensive professional studio.
A basic setup includes:
- a projector
- a flat cutting surface
- a computer, tablet or phone
- rotary cutter or fabric scissors
- pattern weights
- ruler
- washable fabric marker
Many sewists begin with their dining table before eventually upgrading to a dedicated cutting table.
Understanding a Projector Sewing File
Let’s use the DADI Design Messenger Bag projector file as an example.
The file contains several features specifically designed for projection.
1. Test Square
Before cutting anything, you’ll notice a 10 cm × 10 cm calibration square.
This square is the most important part of the entire file.
Always measure it first.
If the square measures exactly 10 × 10 cm, your projector is correctly calibrated.
If not, adjust the projector zoom until the measurement is perfect.
Never skip this step.
2. Layered Pattern Pieces
The Messenger Bag file contains multiple pattern pieces, including:
- Front / Back Panel
- Flap Panel
- Left Strap Panel
- Right Strap Panel
- Mobile Pocket Panel
- Top Facing
- Lining Panel
- Zipper Pocket Panel
Good projector files allow you to display only the size you want, reducing visual clutter and making cutting much easier.
3. Cutting Information
Instead of reading separate instructions constantly, projector files often display useful cutting information directly beside each piece.
For example:
- Cut 2 in Main Fabric
- Cut 2 in Interfacing
- Cut on Fold
- Seam allowance included (3/8″ / 1 cm)
This saves time while cutting because everything is visible on your table.
4. Fold Lines
Some pieces, such as the Front/Back Panel, are marked Cut on Fold.
Simply align the folded fabric with the projected fold line before cutting.
5. Placement Guides
Projector files frequently include additional construction references.
In the Messenger Bag example you’ll find:
- zipper placement rectangle
- button placement
- pocket placement guides
These references reduce marking later during sewing.
Step-by-Step: How to Use Projector Sewing Files
Step 1 – Set Up Your Projector
Position your projector so it points straight down at your cutting surface.
A perpendicular image produces the most accurate pattern.
Avoid projecting at an angle because distortion increases near the edges.
Step 2 – Open the Projector File
Open the PDF using software that supports layers.
Adobe Acrobat Reader is one of the most commonly used options.
If your pattern contains layers, activate only your chosen size.
This creates a much cleaner cutting experience.
Step 3 – Calibrate the Image
Measure the calibration square.
It should exactly match the dimensions printed in the file.
For the Messenger Bag pattern:
10 cm × 10 cm
If the measurement is off—even by a few millimetres—adjust your zoom before cutting.
Step 4 – Prepare the Fabric
Lay the fabric completely flat.
Smooth wrinkles without stretching the grain.
Use pattern weights rather than pins whenever possible.
Weights keep the projected lines fully visible.
Step 5 – Align the Fabric
Follow:
- grainline
- fold line
- straight edge
Take a moment to ensure everything is aligned before making your first cut.
Good preparation usually means fewer mistakes.
Step 6 – Cut Carefully
Work slowly.
Follow the projected cutting line rather than watching the rotary cutter.
For notches:
- make small snips inside the seam allowance
- or mark them using a washable pen
Avoid cutting deep notches.
Common Beginner Mistakes
Forgetting Calibration
This is the number one mistake.
Always measure the calibration square.
Even if your projector worked yesterday, software updates or zoom settings may have changed.
Leaving Every Size Visible
Many beginners forget to hide unnecessary sizes.
Multiple overlapping lines make cutting much harder than necessary.
Always turn on only your chosen size.
Projecting in a Bright Room
Sunlight reduces line visibility.
Lower the lights if possible.
Even an inexpensive projector becomes much easier to use in a slightly darker room.
Using Too Few Pattern Weights
Lightweight fabrics move easily.
More weights create cleaner cuts.
Don’t be afraid to use lots of them.
Which Projects Are Best for Your First Projector Pattern?
Choose something with:
- few pattern pieces
- relaxed fit
- simple construction
Excellent first projects include:
- Raglan Shirt PDF Sewing Pattern
- Drawstring Ruched Back Top PDF Sewing Pattern
- Balloon Skirt PDF Sewing Pattern
- Knee-Length Bubble Skirt Pattern
- Origami Slim Backpack PDF Sewing Pattern
- Minimalist Bomber Jacket PDF
- Hooded Kimono Top PDF
These projects are designed with clean construction and are ideal for building confidence with projector cutting.
If you’re new to garment sewing, you may also enjoy:
- 10 Best Beginner Clothing Patterns to Sew
- Best Beginner Sewing Patterns Clothes
- How to Choose a Beginner Sewing Patterns PDF
- 12 Beginner Sewing Patterns to Try
- 12 Beginner Sewing Projects for Adults
- 9 Beginner Sewing Projects Clothes You’ll Wear
Which Fabrics Work Best?
Stable woven fabrics are the easiest choice for projector sewing.
Good beginner options include:
- cotton poplin
- linen blends
- chambray
- cotton twill
- canvas
If you’re making oversized garments, you’ll also find this guide helpful:
What Fabric Suits Oversized Garments Best?
Why Projector Files Work So Well with Modern PDF Patterns
Projector sewing isn’t simply about avoiding paper.
It also makes it easier to:
- repeat favourite patterns
- blend between sizes
- customise hems
- make quick adjustments
- organise your digital library
Combined with layered PDFs, projector files create one of the fastest workflows available for home sewing.
If you’re still exploring digital sewing patterns, you may also like:
- Why Modern PDF Sewing Patterns Work
- Pay What You Can Sewing Patterns: Affordable PDF Sewing Patterns for Every Maker
DADI Design Projector Sewing Patterns
Every DADI Design pattern includes multiple print options, allowing you to choose the workflow that fits your sewing space.
Available formats include:
- A4
- US Letter
- A0 Copy Shop
- Projector Files
Current projector-compatible patterns include:
- Hooded Kimono Top Sewing Pattern PDF | Slouchy Cropped Hoodie
- Minimalist Bomber Jacket Sewing Pattern PDF
- Knee-Length Bubble Skirt Sewing Pattern PDF
- Drawstring Ruched Back Top PDF Sewing Pattern
- Origami Slim Backpack PDF Sewing Pattern (Fits 15″ Laptop)
- Balloon Skirt PDF Sewing Pattern
- Raglan Shirt PDF Sewing Pattern
Whether you’re sewing your very first garment or building an entirely handmade wardrobe, projector files let you spend less time preparing patterns and more time creating.
Final Thoughts
Learning how to use projector sewing files is one of the easiest upgrades you can make to your sewing workflow. While there is a short setup period at the beginning, the long-term benefits are significant: less paper, faster preparation, easier storage, and a much more enjoyable cutting experience.
If you’re just starting out, begin with a simple pattern, calibrate carefully, and take your time with your first cut. After a few projects, projector sewing quickly becomes second nature—and you may wonder how you ever managed with taped-together paper patterns.
Leave a Reply
You must be logged in to post a comment.