
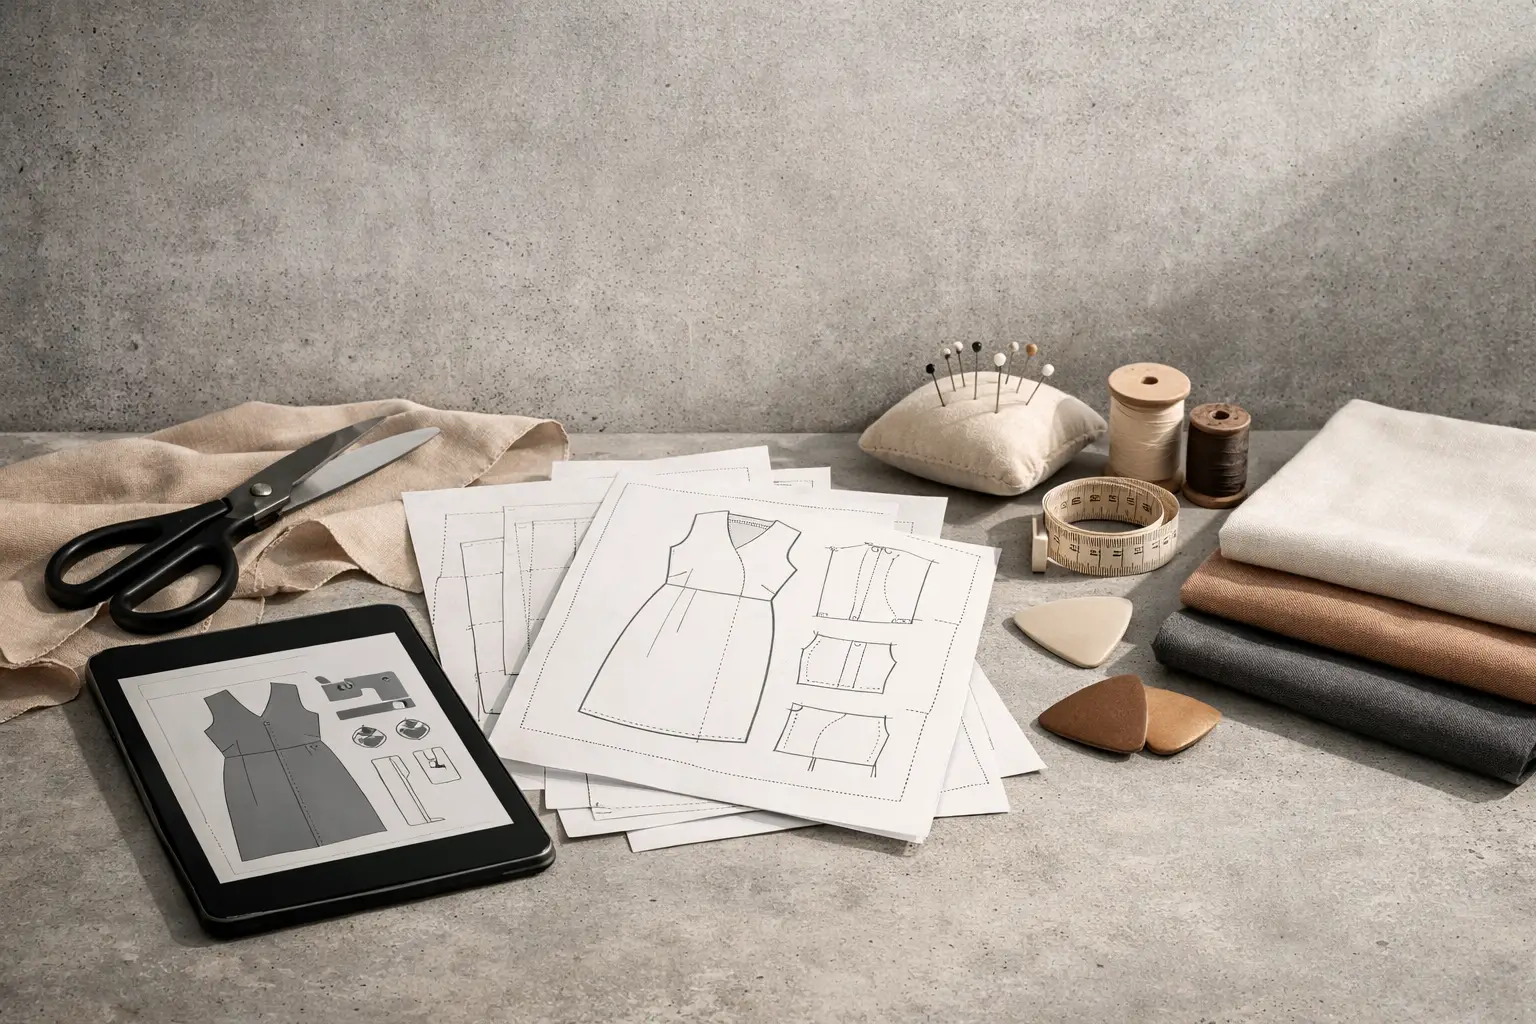
The first time you open a sewing pattern, it can feel overwhelming.
There are grainlines, notches, fold lines, symbols, cutting layouts, seam allowances, size charts, and pages of instructions filled with sewing terms you’ve probably never seen before.
The good news is that sewing patterns aren’t nearly as complicated as they first appear.
Once you understand how to read a sewing pattern, every future project becomes easier. Instead of guessing what each symbol means, you’ll know exactly how the designer intended the garment or bag to be assembled.
Whether you’re sewing your first garment or your first bag, this guide will teach you how to confidently read any modern PDF sewing pattern.
What Is a Sewing Pattern?
A sewing pattern is the blueprint for your project.
It contains every pattern piece, measurement, marking and instruction needed to create a finished garment or accessory.
Modern PDF sewing patterns usually include:
- pattern pieces
- cutting layouts
- size charts
- fabric recommendations
- seam allowances
- construction instructions
- printing files (A4, US Letter, A0 and often Projector)
Professional digital patterns, such as those from DADI Design, include all of these formats so you can choose the workflow that suits your sewing space.
If you’re new to PDF patterns, you may also enjoy:
- Paper Sewing Patterns vs PDF: Which Sewing Pattern Is Better?
- A4 vs A0 Sewing Patterns: Which PDF Format Should You Choose?
- Projector Sewing Patterns for Beginners: The Complete Guide to Sewing Without Printing
Start by Reading the Pattern Information
One of the biggest beginner mistakes is cutting fabric before reading anything.
Instead, spend five minutes looking through the pattern.
Most patterns begin with information about:
- recommended fabrics
- finished garment measurements
- fabric requirements
- notions
- skill level
- seam allowance
- printing instructions
Understanding these details first will save you from expensive mistakes later.
Understanding the Size Chart
Many beginners choose their sewing size based on ready-to-wear clothing.
Unfortunately, that almost never works.
Sewing pattern sizing is completely different from retail sizing.
Instead, measure yourself carefully and compare your measurements with the pattern’s size chart.
Professional patterns also include finished garment measurements, which tell you how much ease has already been added.
This is especially important for relaxed garments such as oversized tops, skirts and jackets.
If you’re unsure how beginner-friendly a pattern is, these articles can help:
- Best Beginner Sewing Patterns Clothes
- How to Choose a Beginner Sewing Patterns PDF
- 10 Best Beginner Clothing Patterns to Sew
Learn the Most Important Pattern Symbols
Although every designer has their own style, most sewing patterns use similar markings.
Grainline
The grainline shows how the pattern should be positioned on the fabric.
Following the grainline helps garments hang correctly and prevents twisting after washing.
Fold Line
When a pattern says Place on Fold, one edge of the pattern sits directly against the folded fabric.
Never cut along the fold itself.
When you unfold the fabric, the pattern piece becomes perfectly symmetrical.
Notches
Small triangles or lines along the edge of pattern pieces are called notches.
These help align seams during sewing.
Matching notches correctly usually makes construction much easier.
Dots and Circles
Small circles often indicate:
- pocket placement
- dart points
- button positions
- matching points
Transfer these markings before removing your pattern pieces.
Cutting Lines
Modern PDF patterns usually contain several sizes on one sheet.
Layered PDF patterns let you display only your chosen size, making cutting much easier and reducing confusion.
Understanding Pattern Pieces
Every pattern piece has a purpose.
You might see:
- Front
- Back
- Sleeve
- Neckband
- Facing
- Collar
- Waistband
- Cuff
Most pieces also tell you:
- how many to cut
- whether to cut on the fold
- interfacing requirements
- grainline direction
Reading these notes before cutting fabric prevents one of the most common beginner mistakes—forgetting to cut mirrored pieces.
Fabric Recommendations Matter
One pattern can produce completely different results depending on the fabric you choose.
A structured cotton poplin creates a crisp silhouette.
The same pattern sewn in rayon becomes soft and flowing.
That’s why experienced pattern designers always include recommended fabrics.
If you’re making oversized clothing, choosing the right fabric makes an enormous difference.
You may also enjoy:
Read the Instructions Before Sewing
Many beginners cut fabric immediately and only read each step while sewing.
A much better approach is to read the entire instruction booklet first.
Doing this helps you understand:
- construction order
- seam finishes
- pressing steps
- interfacing placement
- areas requiring extra accuracy
You’ll spend far less time unpicking stitches later.
Understanding Seam Allowances
Not every sewing pattern includes seam allowances.
Professional PDF patterns almost always tell you clearly whether they are included.
Never assume.
If seam allowances are already included, cutting larger pieces will change the fit of the finished garment.
Always check this before cutting fabric.
Printing Your PDF Pattern Correctly
Reading the pattern also means understanding the print files.
Most modern patterns include:
- A4
- US Letter
- A0
- Projector
Always print the calibration square first.
If it measures correctly, the entire pattern will print accurately.
To learn more about the different formats, read:
- A4 vs A0 Sewing Patterns: Which PDF Format Should You Choose?
- Projector Sewing Patterns for Beginners: The Complete Guide to Sewing Without Printing
Practice with Simple Projects First
The easiest way to learn how to read sewing patterns is by using beginner-friendly projects.
Instead of jumping into a tailored jacket with dozens of pieces, start with relaxed garments and accessories.
Excellent first clothing projects include:
- Balloon Skirt PDF Sewing Pattern
- Drawstring Ruched Back Top PDF Sewing Pattern
- Raglan Shirt PDF Sewing Pattern
- Knee-Length Bubble Skirt Sewing Pattern PDF
- Hooded Kimono Top Sewing Pattern PDF | Slouchy Cropped Hoodie
- Minimalist Bomber Jacket Sewing Pattern PDF
Each introduces new sewing techniques without overwhelming beginners.
Bags Are Excellent for Learning Pattern Reading
Garment fitting can sometimes distract beginners from learning pattern construction.
That’s why many people enjoy starting with accessories.
The Origami Slim Backpack PDF Sewing Pattern (Fits 15″ Laptop) teaches:
- matching markings
- sewing order
- interfacing
- accurate topstitching
- construction sequencing
If you’d like more beginner-friendly tutorials, also read:
Common Beginner Mistakes
Nearly every beginner makes one or more of these mistakes.
Skipping the instructions
Even experienced sewists read new patterns before cutting.
Choosing the wrong size
Always use body measurements—not clothing size.
Ignoring fabric recommendations
Fabric changes the appearance of the finished garment just as much as the pattern itself.
Forgetting to transfer markings
Notches and dots make construction significantly easier.
Printing at the wrong scale
Always measure the calibration square before cutting.
Build Confidence One Pattern at a Time
Learning how to read sewing patterns isn’t about memorising dozens of sewing terms.
It’s about understanding how the designer communicates each construction step.
The more patterns you sew, the more familiar those symbols become.
If you’re completely new to sewing, these beginner guides will help build your confidence:
- How to Sew for Beginners Without Stress
- 9 Beginner Sewing Projects Clothes You’ll Actually Wear
- 12 Beginner Sewing Projects for Adults
- 12 Beginner Sewing Patterns to Try
- Why Modern PDF Sewing Patterns Work
- Pay What You Can Sewing Patterns: Affordable PDF Sewing Patterns for Every Maker
Final Thoughts
Every experienced sewist once stared at a sewing pattern wondering where to begin.
The difference is that they kept learning one symbol, one instruction and one project at a time.
Once you understand grainlines, notches, size charts and construction order, sewing patterns stop looking complicated and start becoming incredibly logical.
Choose a beginner-friendly pattern, read the instructions before cutting, take your time with preparation and trust the process.
Before long, you’ll be reading sewing patterns as naturally as reading a recipe—and spending far more time enjoying your handmade wardrobe than trying to figure out what the next symbol means.
Leave a Reply
You must be logged in to post a comment.