
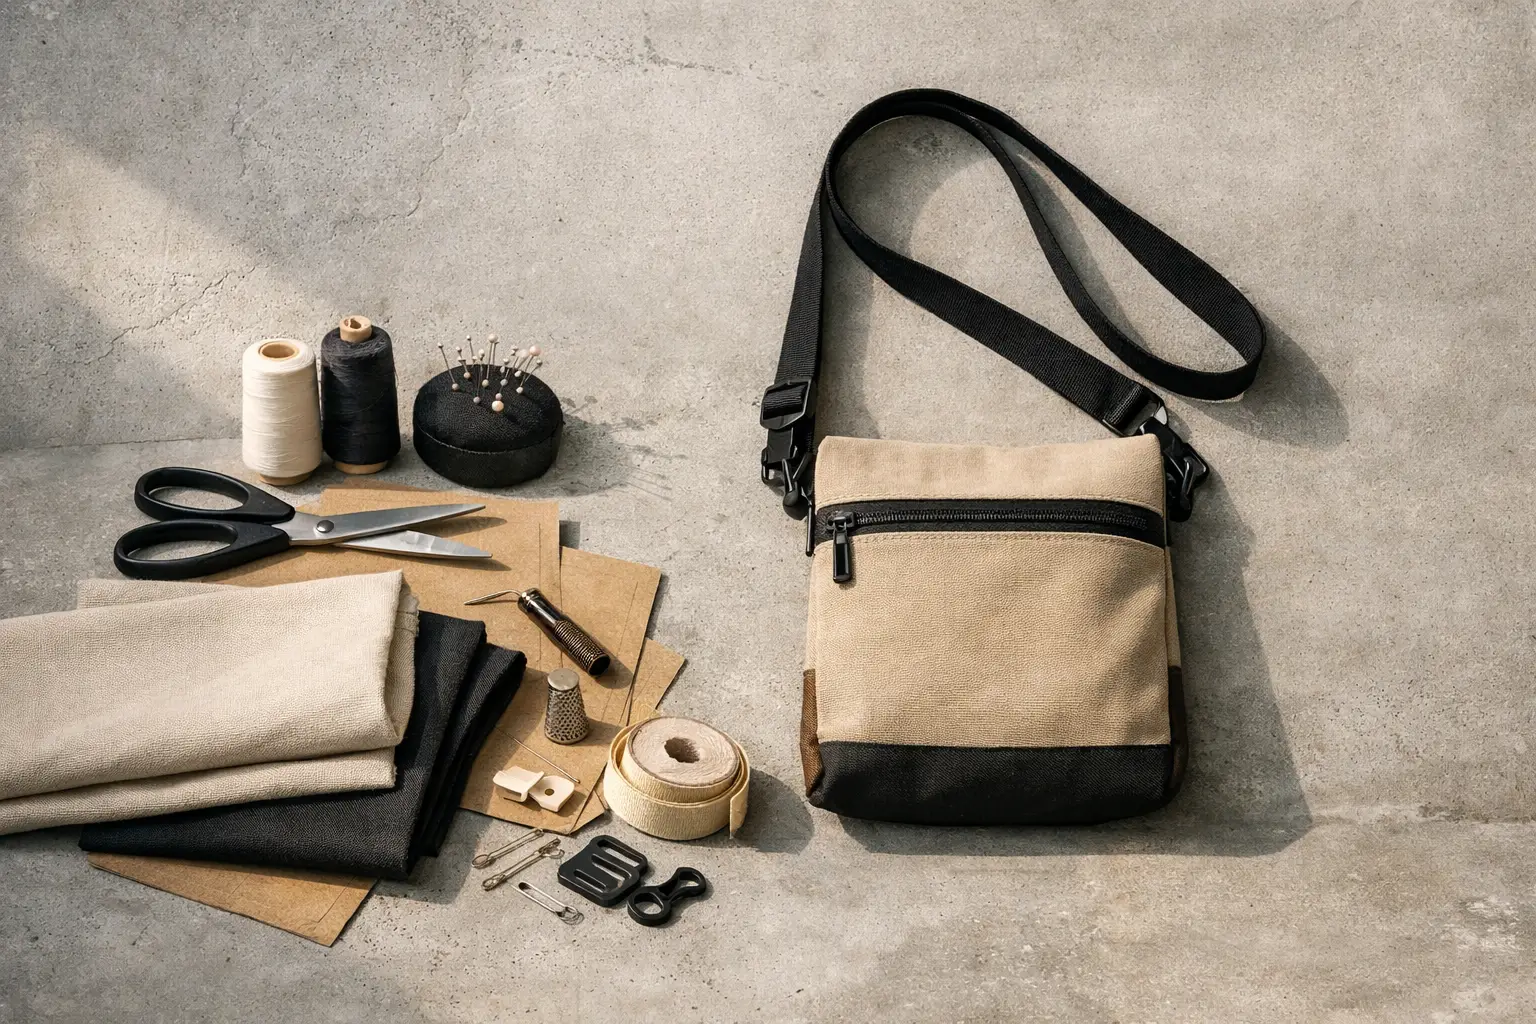
That moment when you want a bag that holds your phone, keys, and wallet – and nothing else – is exactly why this project works so well. If you are learning how to sew simple crossbody bag styles, this is one of the best places to start because it gives you a useful finished piece without asking you to master tricky fitting, zippers, or heavy construction first.
A simple crossbody bag is practical, forgiving, and fast enough to finish in an afternoon. It also teaches skills that show up in bigger sewing projects later, like sewing straight seams, turning corners, pressing for a crisp shape, and attaching straps neatly. For beginners, that combination matters. You want a project that feels achievable and still looks good when you are done.
Why a simple crossbody bag is beginner-friendly
Some sewing projects look easy but hide a lot of frustration. Bags can get bulky, and garments come with fitting questions that can slow you down fast. A basic crossbody bag avoids most of that.
The shape is usually a rectangle or a soft square, so cutting is simple. The sizing is flexible, which means a small measuring mistake is rarely a disaster. And because the bag is worn across the body, it is useful right away, even if your first version is not perfectly polished.
That said, fabric choice changes the difficulty. A slippery lining or very thick outer fabric can make a beginner project feel much harder than it needs to be. If this is your first bag, choose materials that behave well under the needle and press flat without fighting you.
What you need before you sew
For the easiest version, keep your supplies basic. You will need outer fabric, lining fabric, matching thread, pins or clips, scissors or a rotary cutter, and an iron. A sewing machine helps, but the construction itself should stay simple.
If you want more structure, you can add interfacing. This is optional, not mandatory. A bag without interfacing will feel softer and more relaxed. A bag with interfacing will hold its shape better and often looks more polished. Neither is wrong. It depends on whether you want a casual everyday pouch or something with a little more body.
For fabric, cotton canvas, quilting cotton, cotton twill, or light denim are all solid beginner choices. Quilting cotton is easy to sew but softer, so the bag may collapse more. Canvas and twill give better structure but can feel slightly thicker at the seams. If you are nervous, a medium-weight cotton is a safe middle ground.
How to sew simple crossbody bag pieces without overcomplicating it
Start with two outer pieces and two lining pieces cut to the same size. A beginner-friendly size is around 9 inches wide by 10 inches tall, though you can go a little larger if you want room for a small notebook or sunglasses case. Then cut one long strap. If you prefer, you can cut two shorter strap pieces and join them.
If you are using interfacing, apply it to the wrong side of the outer fabric before construction. This step is worth doing carefully because it affects how neat the final bag feels. Press, do not rush, and let the pieces cool flat.
Next, place the two outer pieces right sides together and sew around the sides and bottom. Repeat with the lining, but leave a gap of a few inches along the bottom edge. That opening will let you turn the bag right side out later.
If you want boxed corners for a roomier base, you can pinch each bottom corner so the side seam and bottom seam line up, then stitch across the point. If that sounds too technical, skip it. A flat bag is absolutely fine for a first project and often better for everyday essentials.
Making the strap
The strap is the part many beginners overthink. Keep it simple. Fold the long strip in half lengthwise and press. Open it, fold each long edge into the center crease, press again, then fold in half once more and stitch close to both long edges.
This gives you a clean, sturdy strap without exposed raw edges. If your fabric is thick, trim the strap width slightly before folding. If your fabric is lightweight, a strip of interfacing can help stop the strap from stretching over time.
Length is personal. A crossbody strap usually needs to be much longer than a shoulder bag strap, often somewhere around 45 to 55 inches finished. If you are not sure, pin the strap around your body before sewing it in place. That quick check saves a lot of regret later.
Assembling the bag
Turn the outer bag right side out and leave the lining wrong side out. Pin the strap ends to the top edges of the outer bag, making sure the strap is not twisted. This sounds obvious, but it is the kind of thing people notice only after sewing the whole top edge closed once.
Slide the outer bag inside the lining so right sides are facing each other. Match the side seams and top edges, then sew all the way around the top opening.
Now pull the bag through the opening in the lining. This is the part where it suddenly starts looking like a real bag, which is always satisfying. Once it is turned right side out, sew the opening in the lining closed. You can do this by machine if you keep close to the edge, or by hand if you want a nearly invisible finish.
Push the lining inside the bag and press the top edge carefully. Then topstitch around the opening. This one line of stitching makes a big difference. It helps the bag hold its shape, keeps the lining from rolling outward, and gives the project a cleaner finished look.
Small details that make your bag look better
A simple project does not need fancy hardware to look good. What matters most is accuracy in the basic steps. Straight stitching, careful pressing, and clean corners will do more for the final result than adding extra features too early.
If your corners look bulky after turning, trim the seam allowance before turning the bag right side out. If the top edge looks wavy, press it again before topstitching. If the strap shifts while sewing, baste it in place first. These are small fixes, but they are exactly what help beginners move from homemade in a frustrating way to handmade in a satisfying way.
You can also add a simple pocket to the lining before assembly. A patch pocket is the easiest option. It is useful, but it does add one more step. If your goal is confidence, there is no harm in skipping the pocket on version one and adding it on version two.
Common beginner mistakes and how to avoid them
The most common issue is choosing fabric that is either too stiff or too flimsy. Very stiff fabric can be hard to turn and topstitch neatly. Very thin fabric may droop more than you want. Medium-weight cotton fabrics are usually the easiest place to start.
Another common mistake is forgetting the turning gap in the lining. If that happens, you can still unpick part of the lining seam and keep going, so do not panic. Sewing the strap with a twist is another classic one, which is why checking it before assembly matters.
There is also the question of perfection. Your first bag may have slightly uneven topstitching or corners that are not razor sharp. That does not mean you failed. It means you made something real, useful, and wearable while building skills at the same time.
When to use a pattern and when to keep it basic
You can absolutely sew a simple crossbody bag without a formal pattern if you are happy with a plain rectangular shape. For many beginners, that is enough. But if you want more guidance, a tested PDF pattern can remove a lot of uncertainty around measurements, cutting layouts, and construction order.
That is often the difference between guessing your way through a project and feeling calmly supported from the start. Brands like Dadi Design focus on that beginner-friendly experience for a reason. Clear instructions matter, especially when you are still learning how sewing steps connect.
If you are sewing your very first bag, keep the design simple. Skip the zipper, skip the adjustable slider, and skip anything that makes you feel tense before you even begin. You can always make the next version with more features once the basic process feels familiar.
A simple bag that teaches more than it seems
Learning how to sew simple crossbody bag projects is really about building trust in your own hands. You cut fabric, sew a few seams, turn it through, press it flat, and end up with something you will actually use. That kind of progress is powerful.
Start with the easiest version you can make well. Once you finish it, you will already know what you want to change on the next one – maybe a longer strap, a pocket, firmer fabric, or a little more depth. That is how confidence grows in sewing, not all at once, but one finished project at a time.
Leave a Reply
You must be logged in to post a comment.